
Tel.: +49(0)176/81228565 | E-Mail: info@bss-streamingservice.de
Note: Installing the ATEM Mini requires technical understanding and some manual dexterity. Please contact our service department if you need assistance with the installation.
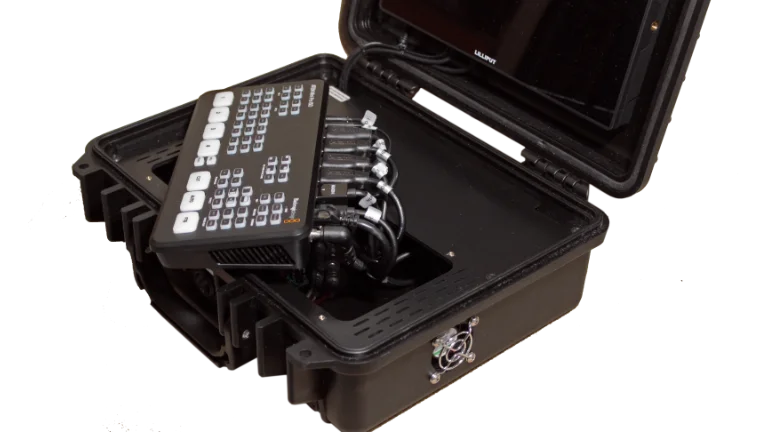
The installation of the ATEM Mini or ATEM Mini Extreme can be done in a few simple steps. In this quick guide, we will show you which steps are necessary. In addition, you will find all steps presented in a compact and clear manner in our assembly video.
These instructions apply analogously to the installation of ATEM Mini, ATEM Mini Extreme, and ATEM SDI. Differences or special features of the individual models will be pointed out accordingly.
Note: Installing the ATEM Mini requires technical understanding and some manual dexterity. Please contact our service department if you need assistance with the installation.
The installation of the ATEM Mini or ATEM Mini Extreme can be done in a few simple steps. In this quick guide, we will show you which steps are necessary. In addition, you will find all steps presented compactly and clearly in our adjacent assembly video.
These instructions apply analogously to the installation of ATEM Mini, ATEM Mini Extreme, and ATEM SDI. Differences or special features of the individual models will be pointed out accordingly.
Before doing any work on the BSS case, disconnect the mains plug from the socket and also from the case!
When the installation slot is open, do not reach for the installed electronic components. Even if the mains plug is disconnected, these can still carry voltage for a long time and cause an electric shock and/or short circuit.
Please follow the other instructions in our safety guide.
Note ATEM Extreme: When installing the ATEM Mini Extreme yourself, there is an acute risk of tipping over after opening the lid in its end position. Only after installing the ATEM Mini does the case reach the balanced center of gravity.
Therefore, when opening the lid, hold the case in its horizontal position until the ATEM Mini Extreme is installed, with the help of a second person.
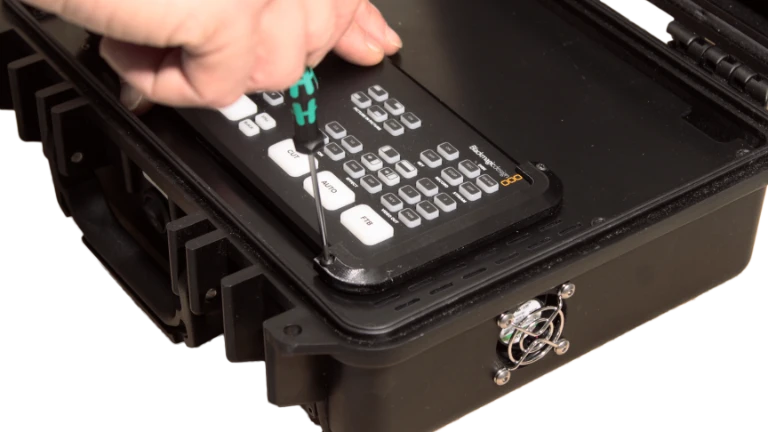
Note: Do not pull the cables with force under any circumstances, as this could damage them or pull them out of the sockets built into the case.
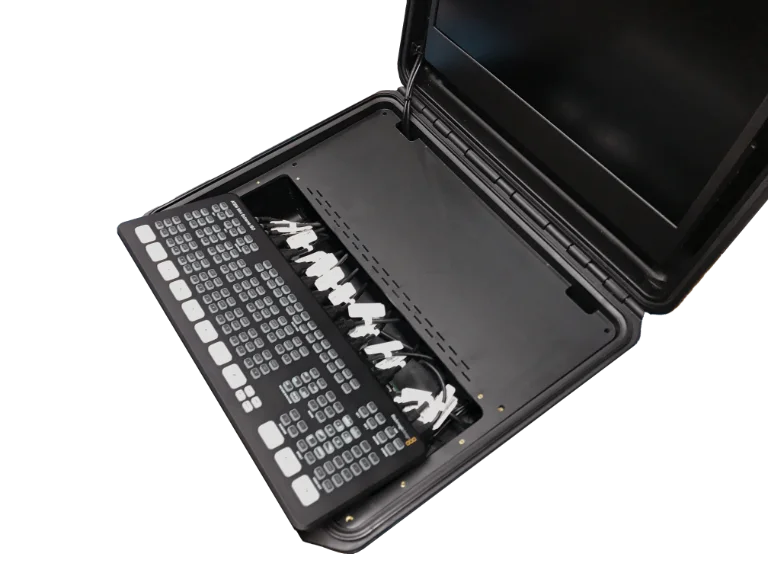
Note: Work carefully and never push the ATEM Mini into the recess with high force! If you feel too much back pressure or if the cover plate deforms under the pressure of the cables, carefully remove the ATEM Mini / Extreme and sort the cables again until the ATEM Mini / Extreme can be inserted into the recess without much counterpressure. You may need to repeat this process several times until the ATEM finds its pressure-free fit.
Note ATEM Extreme: With the ATEM Extreme, the back pressure during insertion is correspondingly higher due to the almost double number of cables. Hold the case up with one hand.
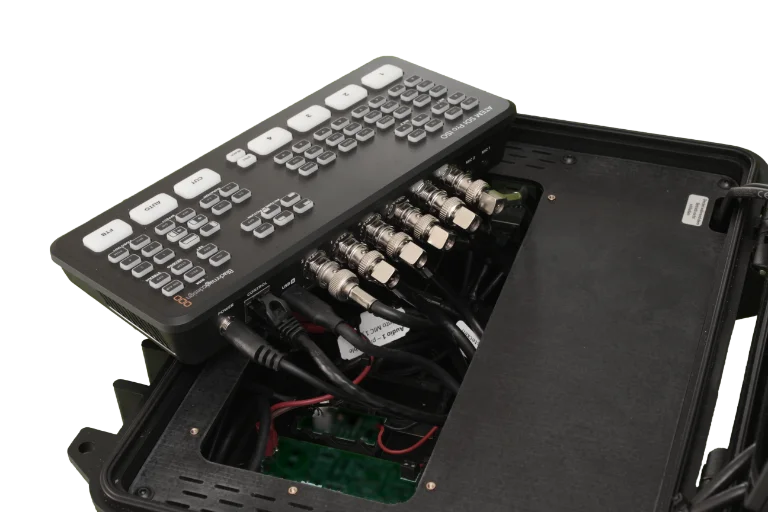
Note ATEM SDI: With the ATEM SDI, it is very important to carefully prepare and lay the cable loops with the BNC cables before installation, as the SDI cables have a relatively high resistance when inserted due to their design.
Note ATEM Extreme: With the ATEM Extreme, the back pressure during insertion is correspondingly higher due to the almost double number of cables. Hold the case up with one hand.
Note ATEM SDI: With the ATEM SDI, it is very important to carefully prepare and lay the cable loops with the BNC cables before installation, as the SDI cables have a relatively high resistance when inserted due to their design.